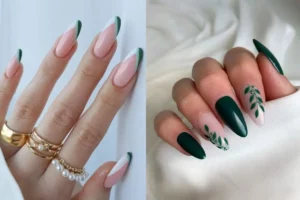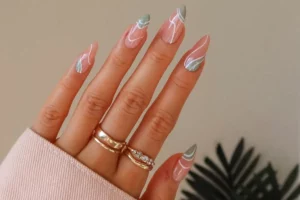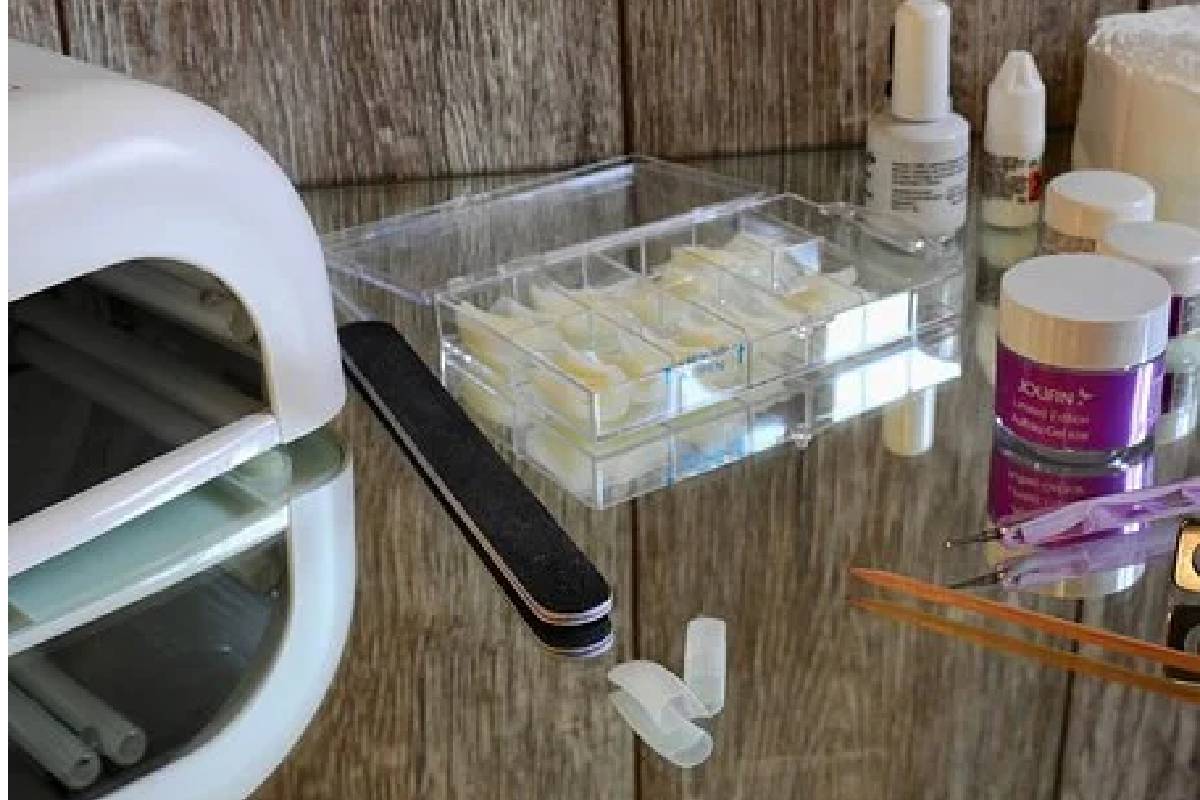
According to a celebrity manicurist and licenced nail technician, “a gel manicure employs gel polish that is cured onto the nail plate using either an LED or UV lamp; it will not dry without the lamp.”
A base coat, two coloured coats, and a top coat are typically used. After each coat, the gel polish is cured under a UV/LED lamp. The gel polish is set by doing this.
According to nail specialists, the gel polish won’t charge or cling to the natural nail without this procedure, which is why it lasts so long.
Think of a gel manicure as a semi-permanent manicure because it is far more resistant to chipping than conventional polish and can frequently last for several weeks.
Shellac gels are occasionally referred to as “shellac,” but the two terms aren’t always equivalent.
The advantages of a gel manicure
- The various advantages of gel polish manicures have altered how people get their nails done today.
- The first and most obvious benefit is that they unquestionably last much longer than a manicure with ordinary nail polish.
- When worn, it keeps its gorgeous, glossy shine and looks brand new.
- There is no surface dulling or scratching over time, and if proper maintenance and aftercare are used,
- there won’t be any chips until the next manicure.
- Getting a gel manicure can also help maintain your natural nails by providing a stricter coating (compared to nail polish), and this can enable your natural nails to grow (by protecting them).
How to Remove Gel Nail Polish
Step 1: Protect your surfaces in step one.
Now let’s get to the removal itself. Gel remover will remove coatings or varnish from surfaces, so take caution. Consider using an old mat covered with a towel and some paper towels.
This way, you can be sure that your favourite dining or coffee table won’t be permanently damaged even if you spill something and make a mess.
Step 2: Shine
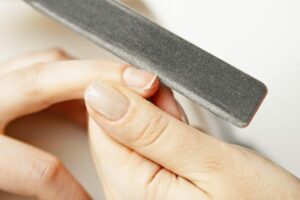
The effectiveness of removal depends on this initial step. Grab a 180-grit nail file. Start filing off the top coat of your gel nails, being careful to get rid of all the gloss.
The gel seal is broken, and the acetone may start breaking down the dried paint. Some gel polish top coats are so durable that if you don’t buff or file them beforehand, they won’t budge. ”
Step 3: Take care of your cuticles and skin.
Even though it’s still not necessary for removal, this aids in preventing any drying caused by the acetone.
Use cuticle oil on the skin near the nail to avoid dehydration. since pure acetone can be harsh.
Step 4: Rinse them thoroughly.
The actual soaking off comes next. To remove a nail, saturate a square of cotton (either a circle cut to size or a ball) in acetone, place it on the nail, and then wrap the foil around as tightly as you can.” “Give this a few minutes.
Step 5: Keep an eye on the gel flakes.
Once the foil has been removed, the gel should appear to be flaking off.
Use your orange wooden stick or cuticle pusher to remove any gel that has come loose gently. There shouldn’t be much pressure on you either.
Never try to force any substance onto the nail plate, as this will damage it.
Re-wrap if necessary and repeat if sections of the gel have not gone off. ”
Step 6: Rehydrate
After removing all of the gel, gently buff your nails with a soft buffer (220 grit is best) and liberally apply cuticle oil.
If you do it yourself, it will probably take between 30 and 45 minutes per hand.
You may safely remove your gel polish at home if you follow these instructions.
